
VM01
OLED Display
Aviation aluminum shell

VP08
Rechargeable model with

VP01H
High temperature printing pen rapid prototyping LED Display
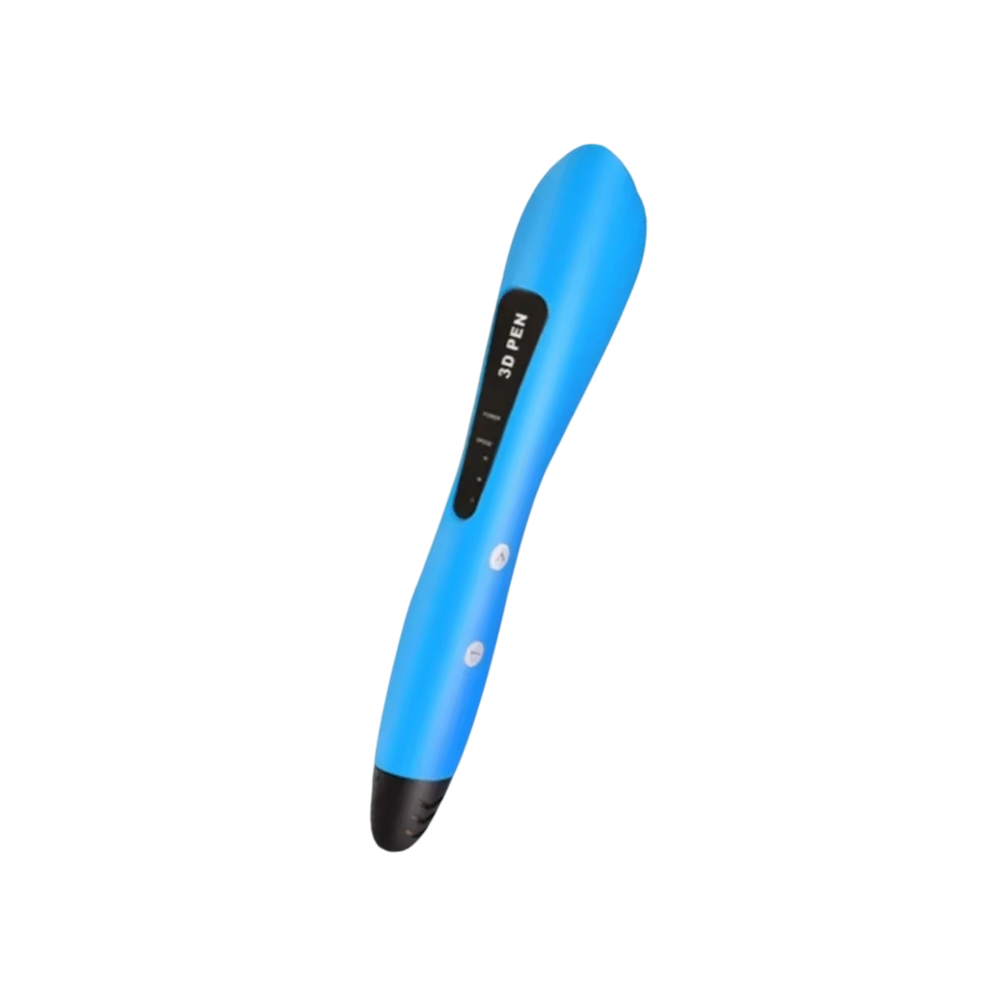
VP01B
Low-temperature charging with up to 100 minutes of battery life.

VM01
OLED Display
Aviation aluminum shell
VP08
Rechargeable model with
VP01H
High temperature printing pen rapid prototyping LED Display
VP01B
Low-temperature charging with up to 100 minutes of battery life.
Our factory is located at No. 41 Shenwan North Road, Shenwan Town, Zhongshan, Guangdong 528460, China.
Outer packaging: Customized customer brand color boxes, spools, labels, stickers, barcodes, etc.;
Wire materials: Customized special colors, night light, wood grain, metal filling, special diameters;
Yes, we maintain high productivity and effective inventory management to ensure stable supply.
Every production batch undergoes strict quality inspections, including diameter accuracy, material consistency, and printing performance testing, ensuring reliable results.
When storing the spools, make sure to securely fix the end of the consumable material. During the feeding process, check if there is any overlap between the coils.
Try lowering the nozzle temperature slightly, adjusting retraction settings, and drying the filament if needed. Proper temperature control and dry storage help achieve cleaner prints with fewer strings.
Inspect the nozzle condition to ensure that the temperature meets the requirements of the filament and that the filament transportation is smooth.
Allow the print to cool before removal, adjust first-layer settings, and use proper bed preparation methods. Balanced adhesion helps keep prints secure while allowing easier removal.
Reduce printing speed, optimize acceleration settings, and check printer stability. Consistent filament extrusion helps maintain smoother surfaces and sharper details.
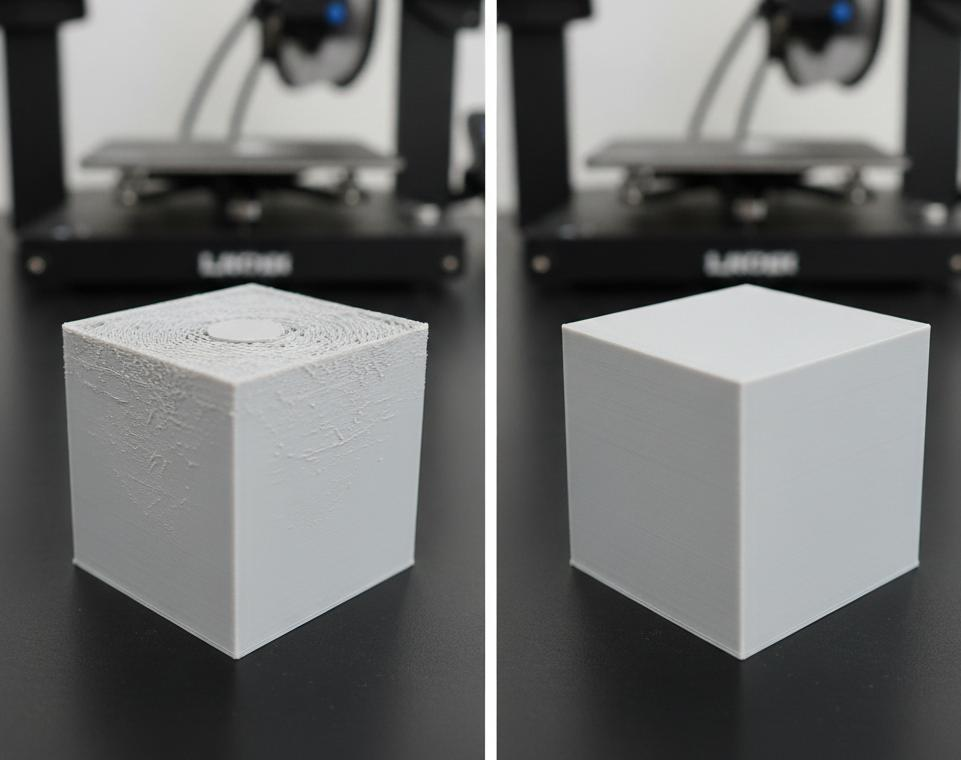
Z-axis stepping instability (Z wobble) Extrusion volume fluctuation (unstable flow rate) Filament diameter error > ±0.05 mm Temperature fluctuation (±5°C or more)
Layer height = nozzle diameter × 25% (0.4 mm nozzle → 0.1 mm) Enable Linear Advance (or Pressure Advance) Calibrate flow rate (test from 100% to 95%) Use high-precision filament with ±0.02 mm accuracy
-1165x800.webp)
Internal stress release during printing:
The cooling rates in different internal areas are different,
which causes “pulling force”.
After printing is completed:
These stresses gradually release → deformation.
Reduce the printing temperature (to decrease shrinkage)
Reduce the filling density (to reduce internal tension)
Increase the wall thickness (for a more stable structure)
Use more stable materials (PLA > ABS)
Use a closed printer (ABS is required)
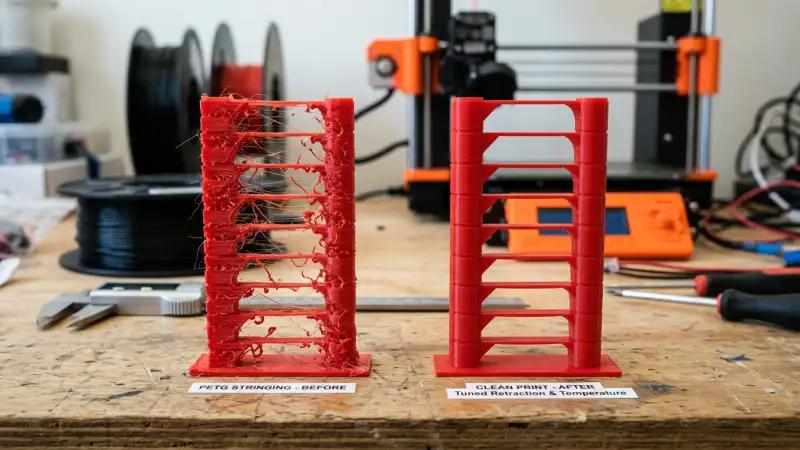
Low material viscosity
Residual pressure in the molten zone
Inconsistent retraction distance
| parameter | recommend |
|---|
| temperature | ↓ 5–15°C |
|---|
| Recovery distancer | Direct drive: 0.8 – 2mm / Bowden: 4 – 6mm |
|---|
| Recovery rate | 25–45mm/s |
| Travel Speed | ≥150mm/s |
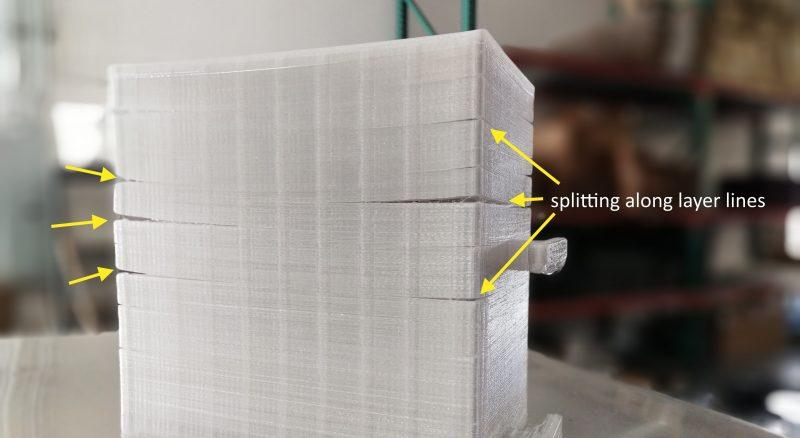
Too low temperature
Excessive cooling
Poor material adhesion
Increase the printing temperature
Turn off or reduce the fan
Use a sealed printing chamber
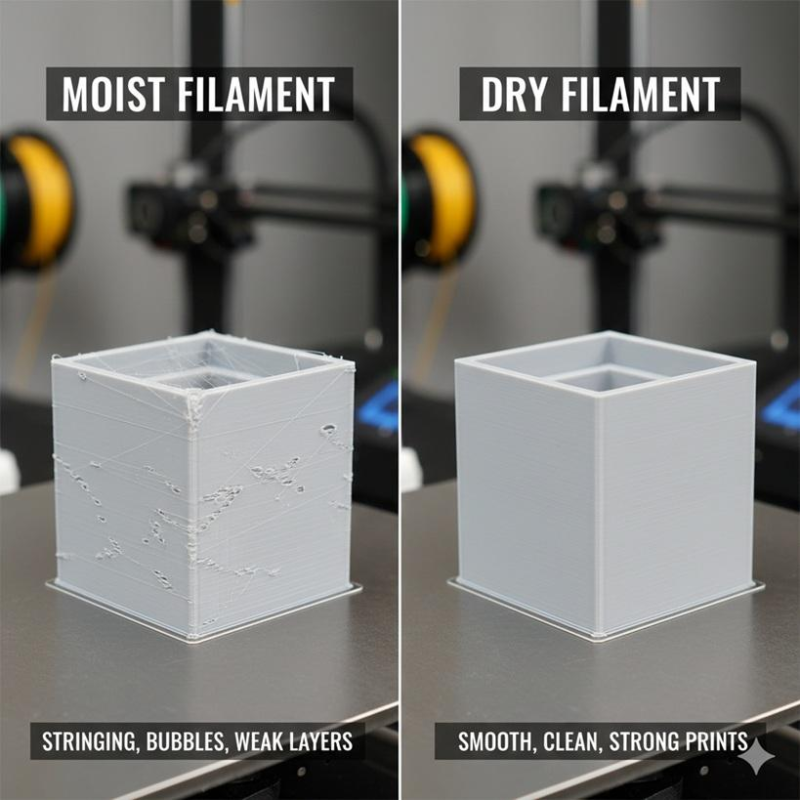
Printing with bubbles
There are “clicking” sounds Surface is rough.
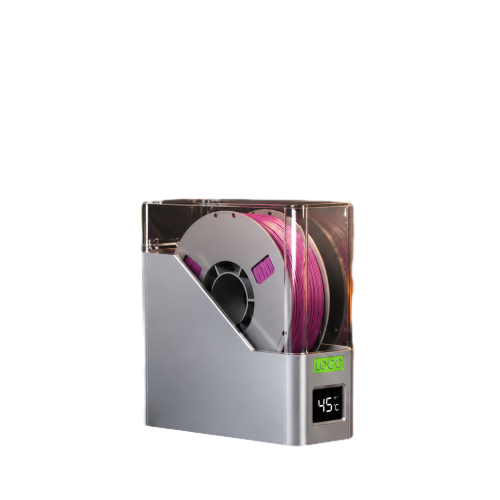
Use a drying oven (at 45–55℃)
Store in an airtight container
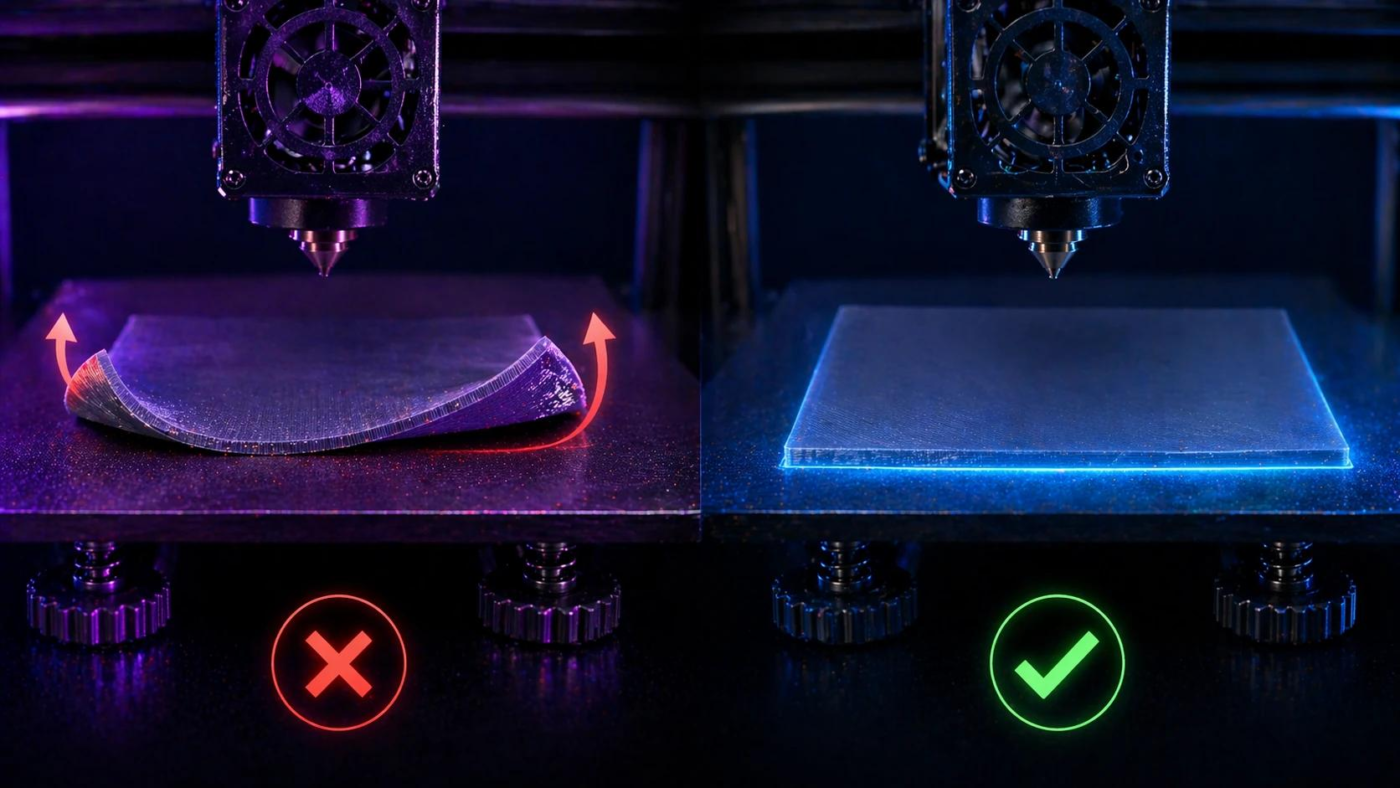
The bed temperature is insufficient.
The bed surface is dirty.
The Z-axis is too high.
Level the heating bed
Increase the bed temperature
Use glue/PEI board
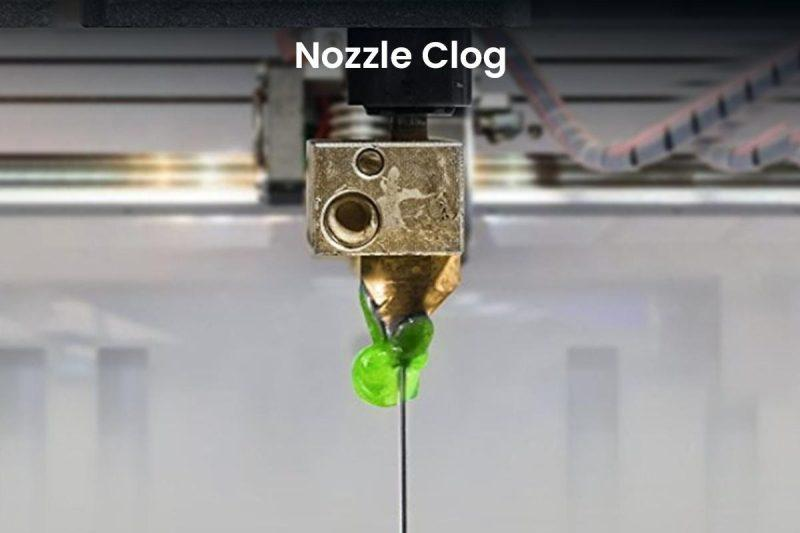
Material impurities
Temperature mismatch
Long printing time
Cold Pull
Replace the nozzle
Use high-purity materials
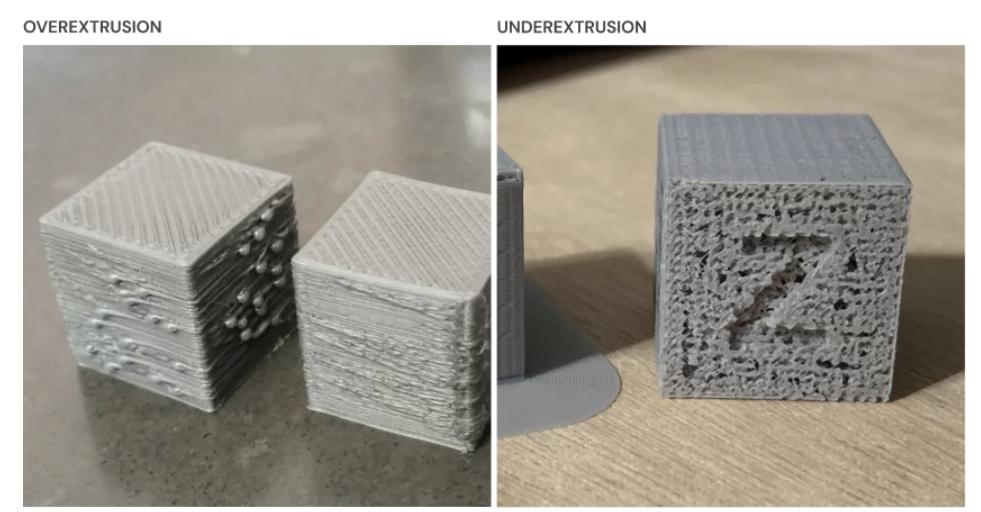
Nozzle blockage
Extruder slipping
Insufficient temperature
Under-extrusion→
Increase temperature by 10°C
Calibrate E-steps
Clean the nozzle
Over-extrusion→
Flow = 90–95%
Calibration of wall thickness
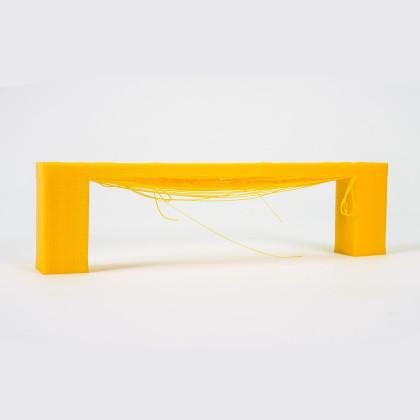
1. Insufficient cooling (most critical)
Fan is not powerful enough / Not fully activated
Poor air duct design
2. Excessive temperature
The material is too soft → Without support, it collapses.
3. The bridging speed is incorrect.
Too slow → More prone to sagging
Too fast → Breaks easily
4. Excessive traffic
The string is too thick → It is heavier → It is easier to hang
Cooling:
Reduce by 5–15°C (not fixed at 5-10)
Bridge connection speed:
20–40 mm/s (critical!)
Bridge traffic:
Adjust to 80% – 95% (many people overlook this)
Open the slicer settings:
“Bridge settings / Bridge flow / Bridge speed”
Insufficient cooling → Soft collapse
Excessive layer height → More floating
Too wide line width → Easier to collapse
Printing too fast → Not enough time for curing
Design level:
Control ≤ 45° (Optimal)
Slice Settings:
Activate Support (Supporting)
Support angle: Approximately 50°
Printing parameters:
Floor height ↓ (e.g. 0.2 → 0.12)
Temperature ↓ 5–10°C
Fan ↑ to 100%
Speed:
The outer wall is reduced to 20–30 mm per second.
.webp)
Belts:
Adjust belt tension so it is tight but still slightly elastic (like a guitar string)
Speed:
Reduce printing speed (especially outer walls)
Acceleration:
Lower acceleration and jerk settings
Motors:
Increase motor current (with caution)
Ensure proper cooling of stepper drivers
Mechanical Structure:
Check that rails and motion system move smoothly
Apply proper lubrication
Collision Prevention:
Enable Z-hop to avoid nozzle collisions
-1400x789.webp)
Insufficient retraction (Retraction is insufficient)
Design of the hot end (long molten zone → more severe)
Slow printing speed (longer pressure release time)
Low material viscosity
Retraction Distance ↑(+0.5mm progressive testing)
Retraction Speed = 30–45mm/s
Temperature ↓ 5–10°C
Start Coasting (0.2–0.5mm³)
Prevent extrusion and release pressure in advance
Start Wipe
“Remove leftover materials” as the nozzle moves Linear Advance / Pressure Advance
Control stress at its source
.webp)
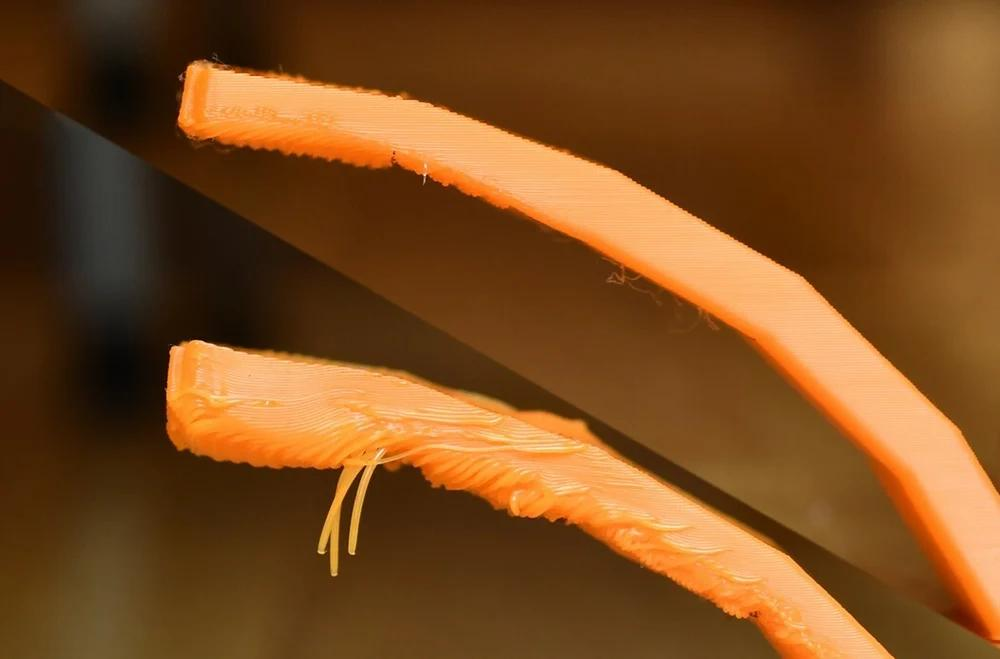
If the actual diameter of the wire changes:
Thickening → Increased extrusion volume → Bulge
Thinning → Decreased extrusion volume → Holes/Discontinuities
Essentially:
The extruder “thinks” it is extruding 1.75mm, but the actual value may fluctuate between 1.70mm and 1.80mm.
Measure the wire using a caliper (at least 5 points)
Input the actual average diameter in the slicing software
Replace with high-quality wire (tolerance within ±0.02mm)
Enable “Flow Calibration”
.webp)
The infill density is too low (<10%)
The filling structure is unreasonable (the lines are the worst)
The temperature is too high (the material is too soft)
The cooling is insufficient
Infill ≥ 15–25%
Use Gyroid/Grid (not Lines), Top Layers ≥ 4–6 layers
Top Layer Speed ↓ (≤30 mm/s)
-869x800.webp)
Thermal expansion and contraction + poor bed adhesion
Process:
The filament is extruded at high temperature (expanded state)
It shrinks as it cools down
The corners cool faster and begin to contract first
This creates an upward pulling force
If the adhesion to the build plate is weaker than the shrinkage force, warping will occur
Increase the temperature of the heating bed
Increase adhesion
Brim (of the skirt)
Reduce the fan speed
Close the doors and windows (to prevent cold air from entering)
-1067x800.webp)
1. Feeding problem
Finished line materials
Blockage / Knotting
2. Extrusion problem
Nozzle clogged
Extruder slipping
3. Equipment problem
Power outage
Motherboard crashed
SD card read failure
4. Temperature control problem
Abnormal temperature at the heating end → Automatic shutdown
Check if the wire is moving smoothly
Start the power-off re-engraving process
Clean the nozzle
Replace the SD card
Check the fan and temperature