


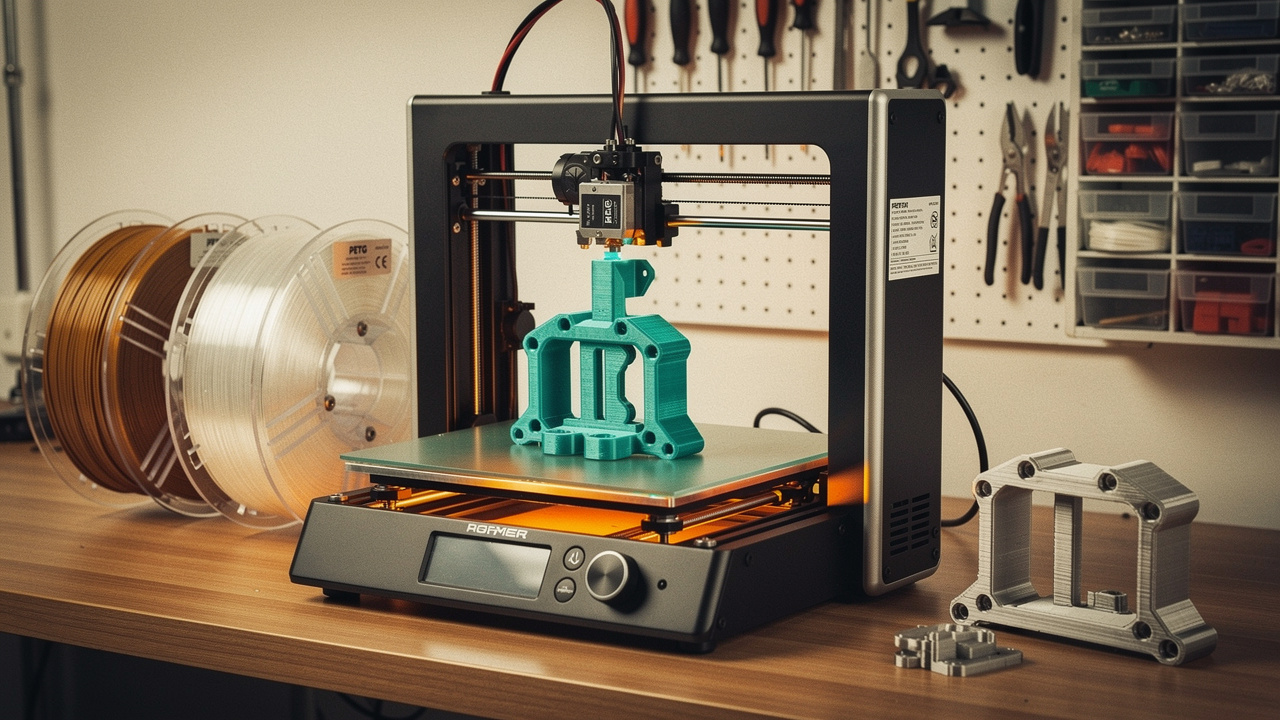
Switching from PLA to PETG filament catches a lot of beginners off guard. The nozzle temperature that worked fine for PLA suddenly causes stringing, the bed won’t hold the first layer, and warped corners show up on prints that never had trouble before. These headaches usually trace back to PETG’s different melting behavior, its sensitivity to moisture, and its stronger layer bonding, which builds durability but takes more care to dial in.
PETG filament, short for polyethylene terephthalate glycol, sits between PLA and ABS. It offers PLA-like ease of printing with ABS-level toughness and chemical resistance. This guide from Sundi3D walks through exact PETG print settings, covering nozzle temperature, bed temperature, print speed, cooling fan use, and retraction settings. You’ll also find drying steps, adjustments for Bambu Lab, Creality, and Prusa printers, and fixes for warping, PETG not sticking to bed, and stringing.
Keep reading for the exact numbers, plus practical fixes for every common problem along the way.
Key Takeaways
Aim for a nozzle temperature between 220°C and 250°C and a bed temperature between 65°C and 90°C, adjusting in small 5°C steps based on your build surface.
PETG is hygroscopic, so drying at roughly 55–65°C for several hours is not optional if you want clean, strong prints.
Low to moderate cooling fan use protects layer adhesion, while heavy cooling weakens PETG’s bond between layers.
Textured build surfaces beat smooth glass or PEI for balanced PETG bed adhesion and easier part removal.
Most PETG problems come down to three root causes: wet filament, wrong temperature, or a poorly tuned first layer.
Jump to section
- What Is PETG and Why It Behaves Differently Than PLA
- Best PETG Print Settings (Temperature, Speed, Cooling, Retraction)
- How to Dry PETG Filament the Right Way
- Common PETG Problems and How to Fix Them
- Practical Tips for Better PETG Prints
- The Takeaway
- FQA
What Is PETG and Why It Behaves Differently Than PLA
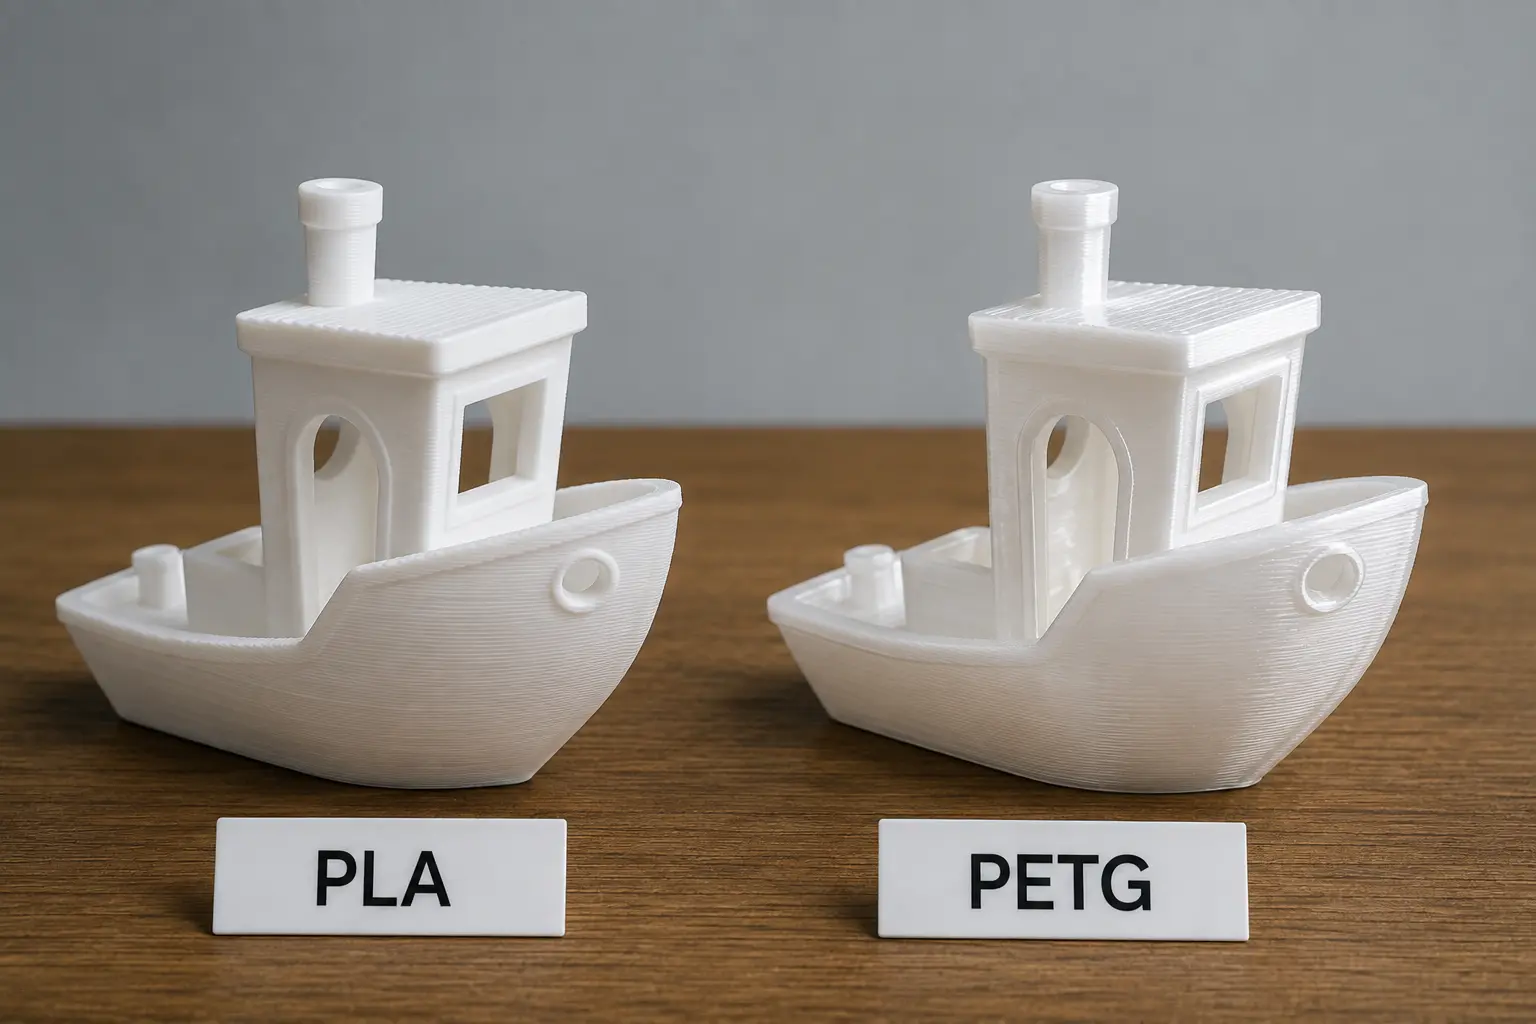
PETG behaves differently than PLA because it is a glycol-modified polyester built for toughness rather than pure stiffness. Where PLA is rigid and prone to snapping under stress, PETG flexes slightly before it fails, giving it far better impact resistance and layer adhesion. This ductility comes from the way glycol reduces crystallization during production, which also lowers shrinkage and cuts down on the warping that plagues more brittle plastics. The same properties that make PETG tougher also make it stickier on the bed and more prone to oozing between moves, which is why its print settings differ noticeably from PLA’s.
These characteristics make PETG an ideal choice for functional parts rather than pure display models. Whether printing brackets, enclosures, snap-fit clips, outdoor signage, or containers requiring resistance to moisture, mild chemicals, and accidental drops, it proves to be an excellent option.
Best PETG Print Settings (Temperature, Speed, Cooling, Retraction)
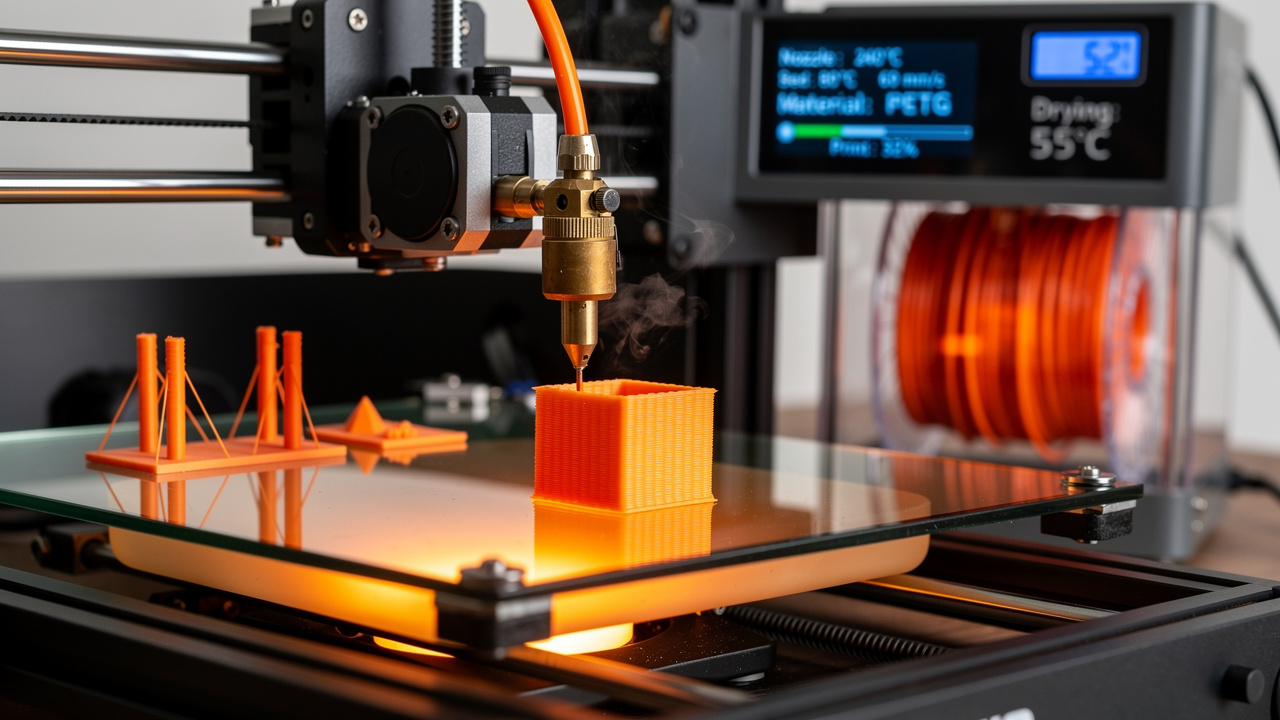
The best PETG print settings balance nozzle temperature, bed temperature, print speed, cooling, and retraction as one connected system rather than isolated numbers. Change one setting and the others usually need a small adjustment too, since PETG’s melt behavior is more sensitive than PLA’s to how fast it cools and how much it strings during travel moves. The ranges below work as a reliable starting point across most desktop printers, though every brand’s default profile nudges these numbers slightly in its own direction.
The performance of PETG with different viscosities under various printing temperatures and speeds
PETG Print Settings Table
This table covers the core PETG print settings most slicers ask for, from nozzle temperature and bed temperature down to layer height and nozzle diameter. Treat these as a tested starting range rather than a fixed rule, since color additives and brand formulations shift the ideal number by a few degrees. Running a temperature tower on any new spool, especially a new color or brand, remains the fastest way to confirm your printer’s sweet spot before committing to a full print.
| Setting | Recommended Value | Notes |
|---|---|---|
| Nozzle Temperature | 220–250°C | Sundi3D PETG prints cleanly at 220–240°C on most setups |
| Bed Temperature | 50–90°C | Textured PEI needs less heat than smooth glass |
| Print Speed | 35–50 mm/s | Slower speeds improve layer bonding |
| Travel Speed | 120–150 mm/s | Cuts down on oozing between features |
| Retraction Distance | 1–2 mm direct-drive, 3–7 mm Bowden | Tune in small steps to avoid clogs |
| Cooling Fan | 0% first layer, then 20–50% | Up to 60% for bridges and overhangs |
| Layer Height | 0.16–0.28 mm | Lower for detail, higher for speed |
| Nozzle Diameter | 0.4 mm minimum | Larger nozzles help with bigger, faster prints |
Adjusting Settings for Bambu Lab, Creality, and Prusa Printers
Printer brand matters because each manufacturer tunes its default PETG profile around its own hardware, bed materials, and enclosure design. Bambu Lab machines with an AMS tend to run nozzle temperatures near 240°C by default, but owners should pay extra attention to moisture control, since the AMS chamber isn’t a substitute for a proper dry box during long storage. Creality’s Ender and K1 series typically start closer to the middle of the general range, around 235–245°C nozzle and 75–80°C bed, though these printers often need a careful manual bed leveling pass before PETG will hold reliably on the first layer.
Prusa printers stand out for recommending noticeably hotter bed temperatures, often 85°C for the first layer and 90°C for the rest of the print. Prusa also actively warns against smooth PEI sheets for PETG, since the bond can grow strong enough to damage the sheet during removal, and instead points users toward textured or satin surfaces for a more forgiving release.
How to Dry PETG Filament the Right Way
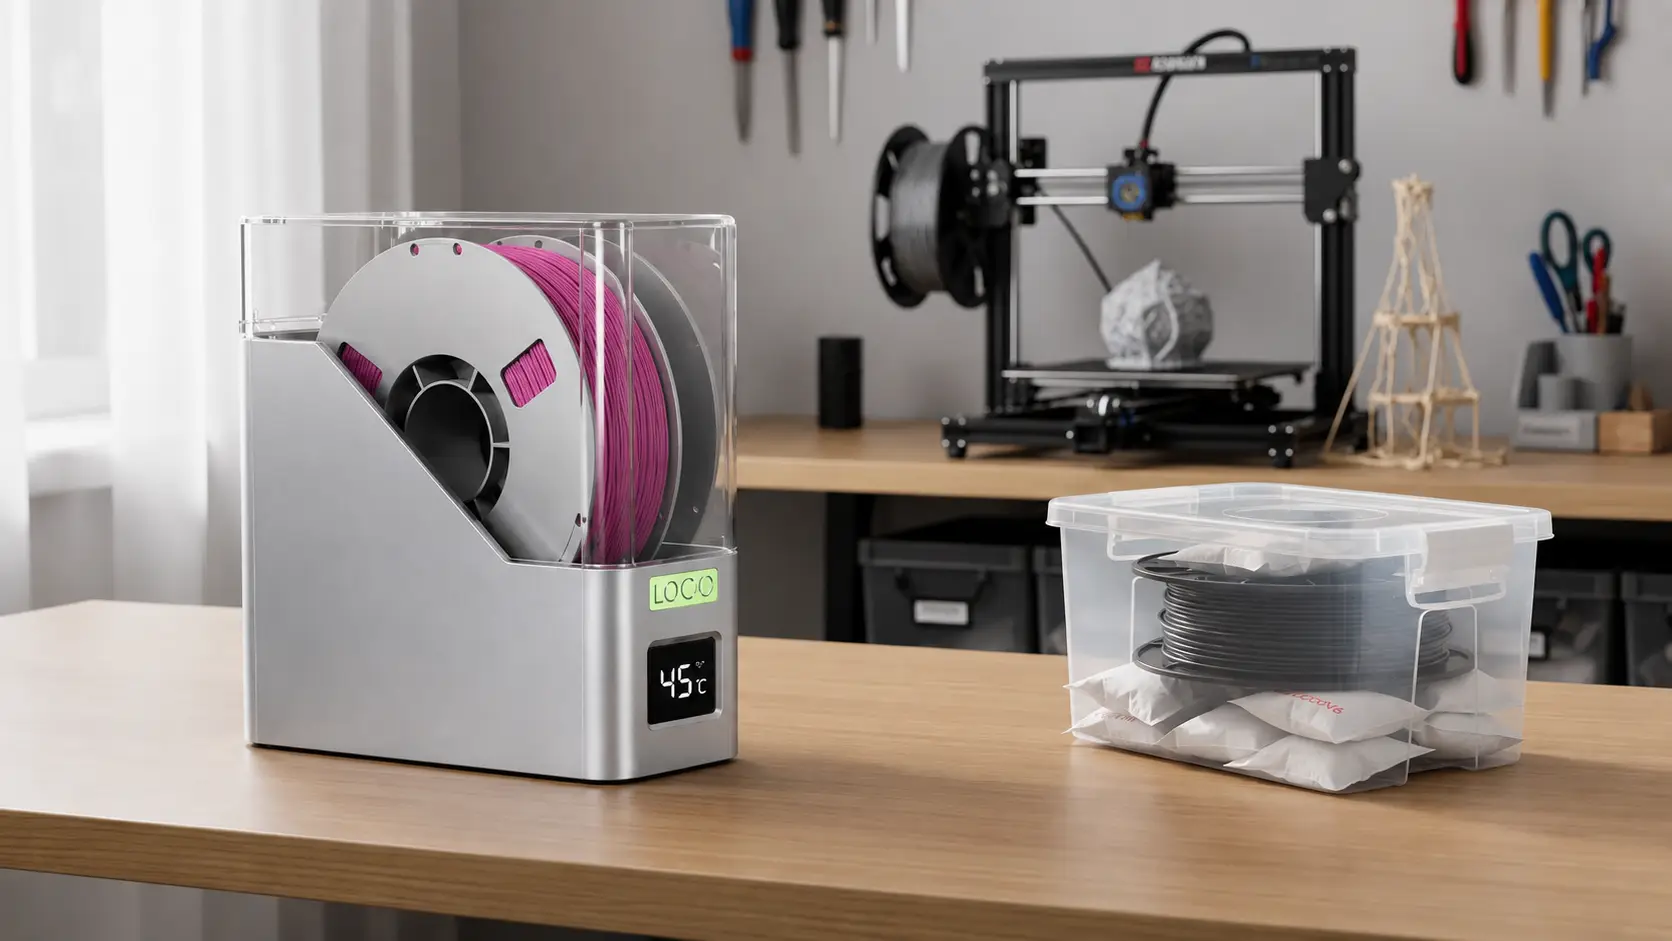
Drying PETG filament the right way means heating it gently enough to remove absorbed moisture without softening or deforming the spool. PETG is hygroscopic, meaning it pulls water vapor straight out of the air, and that trapped moisture turns into steam the moment it hits your hot nozzle. Left unchecked, this single issue causes a surprising share of the stringing, popping, and weak-layer complaints beginners blame on their printer settings. Getting ahead of moisture with a consistent drying and storage routine solves more PETG problems than almost any other single fix.
Signs Your PETG Filament Is Wet
Wet PETG filament tends to announce itself through sound and surface texture rather than subtle print defects.
Popping or crackling noises coming from the nozzle
Visible steam or wisps as filament extrudes
A dull, bubbly, or matte finish where you expected a smooth gloss
Weak layer adhesion that shows up out of nowhere
Extra stringing even with previously solid retraction settings
Drying Temperature, Duration, and Storage Tips
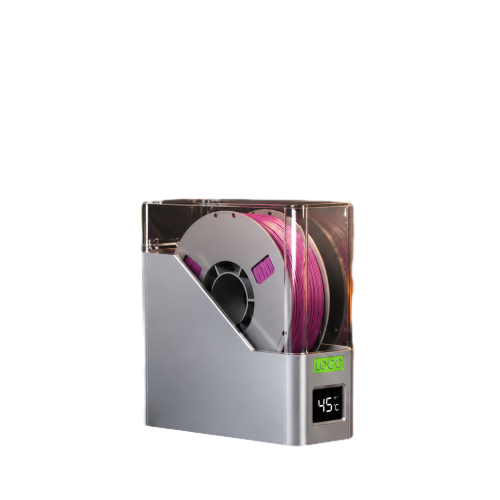
It is recommended to dry PETG filament at 55–65°C for 4–6 hours using a dedicated filament dryer, a temperature-controlled dehydrator, or a low-temperature oven as a last resort. Heavily saturated spools exposed for weeks may require an overnight session to fully restore print quality. Once dry, immediately transfer the filament into an airtight container or dry box with fresh desiccant, as re-exposure quickly negates the drying process. Consistent drying and proper storage ensure steady extrusion, reduce stringing and bubbling, and help all other print settings perform as intended.
Common PETG Problems and How to Fix Them
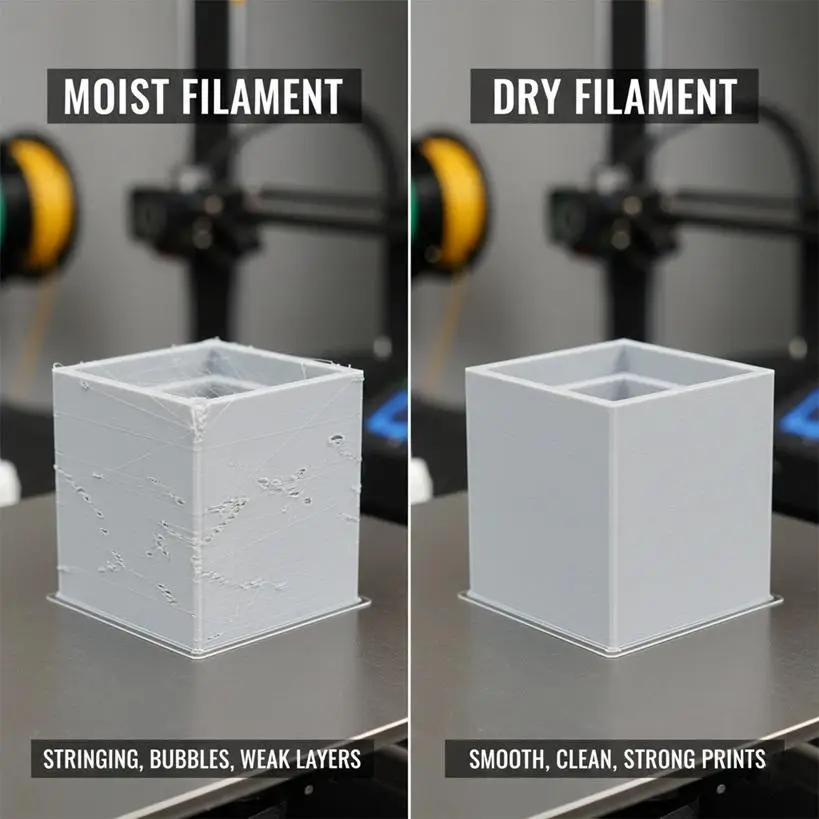
Most common PETG problems fall into four categories: warping, bed adhesion trouble in either direction, stringing, and weak layer adhesion. Each one has a handful of clear, repeatable causes, which means you rarely need to guess at a fix once you know what to check first. Work through temperature, cooling, and moisture in that order before touching anything else, since those three variables explain the vast majority of PETG print failures.
Why Is My PETG Warping?
PETG warping usually comes from aggressive cooling, a bed that’s too cool, or drafts hitting the print mid-job. Reduce your cooling fan speed for the first several layers to protect adhesion, then raise bed temperature in 5°C steps until the corners stop lifting. If your printer sits near a window, vent, or open doorway, moving it or adding a simple enclosure often solves the rest of the problem.
Why Won’t PETG Stick to the Bed (or Stick Too Well)?
PETG not sticking to the bed is usually fixed by raising bed temperature in small increments, cleaning the surface with isopropyl alcohol, slowing the first layer to 20–30 mm/s, and rechecking your nozzle-to-bed gap. The opposite problem, PETG bonding too aggressively, calls for a different approach entirely. Switch to a textured build surface, add a thin layer of glue stick as a release agent, and always wait for the bed to cool fully before prying anything loose.
How to Reduce PETG Stringing
Reducing PETG stringing starts with tuning retraction distance to match your extruder type, then raising travel speed to around 120–150 mm/s so the nozzle spends less time oozing between moves. Lower nozzle temperature in 5°C steps if strings persist, watching for any drop in layer strength as you go. Dry your filament before changing anything else, since damp PETG will string no matter how well the rest of your settings are tuned.
Fixing Weak Layer Adhesion
Weak layer adhesion in PETG usually means cracking or splitting along the vertical walls of a print. Raise nozzle temperature in small steps to improve fusion between layers, reduce cooling fan speed so each layer bonds before it hardens, and slow down overall print speed to give the nozzle more time to weld each pass together. Double-checking your first-layer gap and bed temperature also helps, since a shaky foundation tends to carry adhesion problems through the entire print.
Practical Tips for Better PETG Prints
Treat nozzle temperature, bed temperature, cooling, print speed, and retraction as one connected system instead of five separate dials, since adjusting one almost always calls for a small tweak to another. Start from the baseline ranges in this guide and change just one variable at a time so you can actually tell what fixed the problem. Before chasing printer settings, rule out filament moisture and storage conditions first, since a damp spool will mimic almost every other PETG problem on this list.
Keep a simple dry box with fresh desiccant on hand, since PETG’s moisture sensitivity means storage matters just as much as your slicer profile.
Favor textured or satin build surfaces over smooth glass or PEI to avoid over-adhesion issues that can damage your bed or your print.
Choose a consistently manufactured PETG filament to reduce spool-to-spool variation and cut down on unnecessary trial and error.
Write down what works for each printer and spool combination, since batches can behave slightly differently even from the same brand.
Patience beats guesswork with PETG. Small, deliberate adjustments to one setting at a time will get you to a clean print far faster than chasing several variables at once.
The Takeaway
Getting good results with PETG comes down to three habits: dialing in the right temperatures for your printer and bed surface, keeping filament dry before every print, and choosing a build surface that balances grip with easy release. Once those three pieces are in place, most of the warping, stringing, and adhesion complaints that frustrate new PETG users simply stop showing up.
Document your settings as you go and make adjustments in small increments rather than large jumps, as PETG rewards patience over trial and error. Starting with a reliable, consistently produced PETG filament provides a stable baseline, making any print issues that arise much easier to trace back to a specific setting rather than the material itself.
FQA
Most Bambu Lab printers default to around 240°C for PETG, which sits comfortably inside the general 230–250°C range. Adjust in 5°C steps if you notice stringing (try lower) or weak layer bonding (try higher) with your specific spool and color.
No, skipping a heated bed isn’t recommended for PETG. A heated bed set between 65°C and 90°C is essential for proper first-layer adhesion and for keeping larger parts from warping as they cool.
An enclosure isn’t required for most PETG prints, unlike ABS. It only becomes genuinely useful for large or warp-prone parts, or in rooms with drafts, open windows, or nearby air vents that cause uneven cooling.
Dry a fresh spool before its first use if it’s been opened, and redry any time you notice popping sounds or extra stringing. Properly dried and stored PETG typically stays printable for several weeks under normal indoor conditions.
This comes down to your build surface and cooling fan settings. Glass or smooth PEI produces a glossy bottom layer, while textured sheets leave a matte finish, and higher cooling fan speeds can dull gloss on upper surfaces too.
PETG has notably better impact resistance and ductility than PLA, flexing slightly before it breaks instead of snapping outright. PLA edges out PETG in raw tensile strength, but it’s also more brittle under sudden stress or drops.
A 20–30% infill density gives a solid balance of strength and material use for most PETG parts. Rectilinear, honeycomb, or gyroid patterns are preferred, since they reduce the crossover points that cause stringing and blobbing inside the print.
